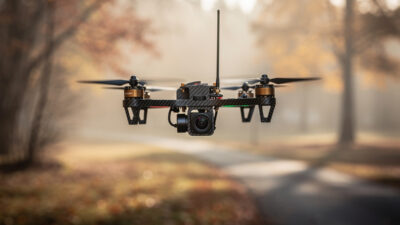
Analog vs Digital FPV for Beginners: An Honest Guide
Somewhere early in the hobby every newcomer hits the fork that splits the whole of…
Setting up your controller in an FPV simulator takes about ten minutes and decides whether every hour after it builds real habits or bad ones. The four steps that matter: connect the radio over USB, calibrate the gimbals so center is truly center, set the channel map and Mode 2, and dial your rates near what your real Betaflight quad will run. Skip the rates step and your thumbs learn a feel they will have to unlearn the day you arm real props.
I run a hall-sensor radio and have set it up across every sim I fly, and the process is the same everywhere because the radio is doing the same job. This guide walks the whole thing in order, the way I do it on my own bench, so your sim hours actually transfer to the quad you will eventually build.
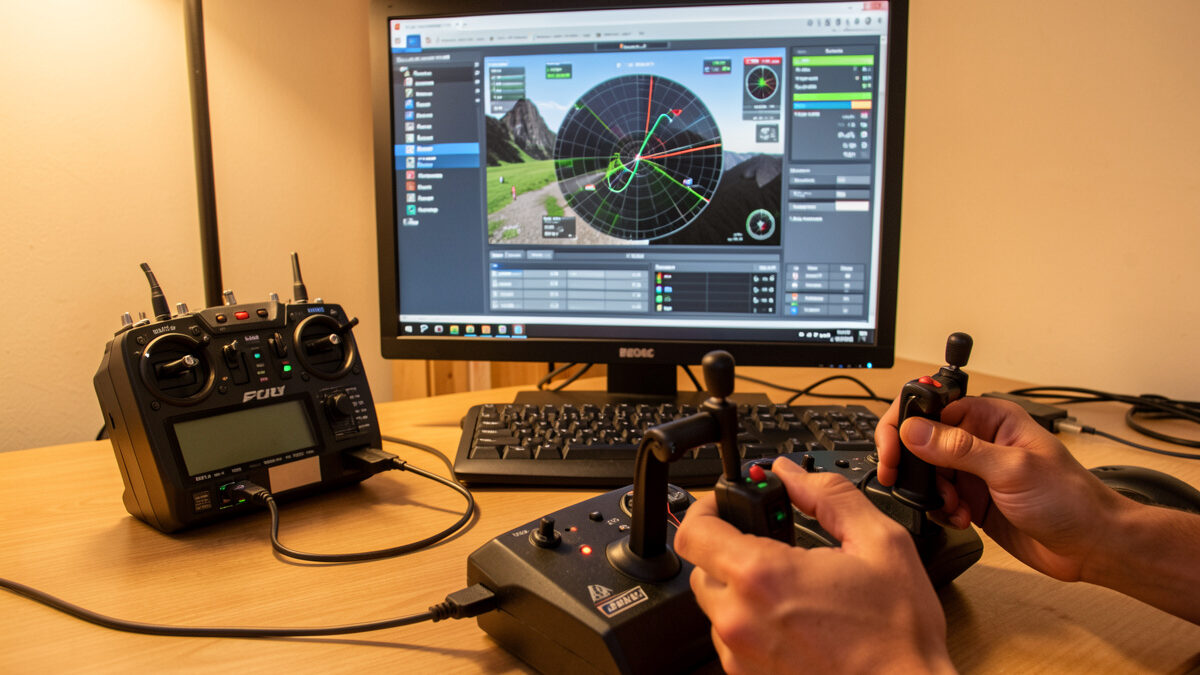
Almost every modern FPV radio connects to a sim as a USB game controller — plug it in, pick “USB joystick” or “Game controller” mode on the radio, and the sim sees it. On most radios running EdgeTX or OpenTX you select the USB mode from a menu when you plug into the computer; on some you simply power on and connect. The sim’s controls screen should show the sticks moving as you move them.
If the sim does not detect the radio, it is almost always the USB mode: the radio must present as a joystick, not as storage or a serial device. Once the sim sees stick movement on all four channels, you are ready to calibrate. A USB-capable radio is the one piece of gear worth buying before anything else — here is why the controller comes before the drone, and the simulator training guide covers where this fits in the bigger picture.
Calibration tells the sim where each stick’s true minimum, center, and maximum are, and it is non-negotiable — an uncalibrated stick means a quad that drifts when your hands are still. Run the sim’s controller calibration routine: it will ask you to move each stick to its extremes and leave them centered, then it records the endpoints. Do it once per radio and the sim remembers.
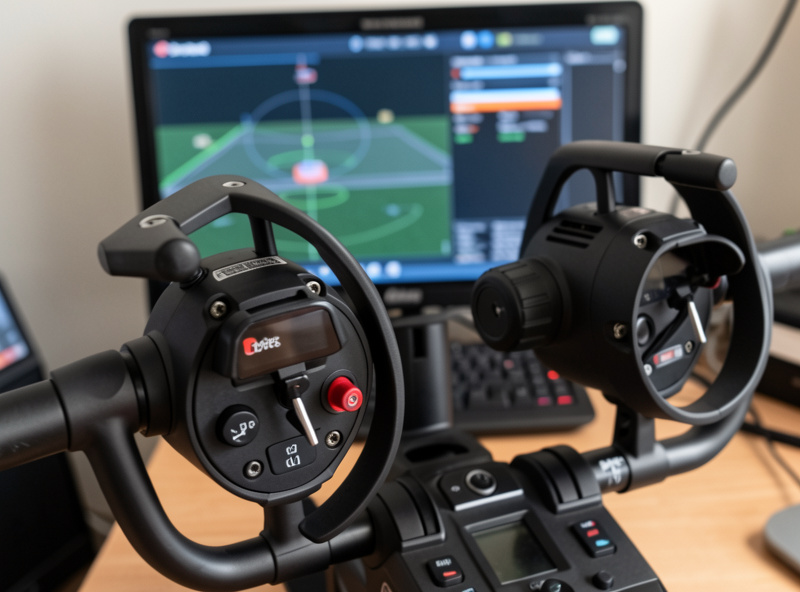
This is where hall-sensor gimbals earn their keep. Hall sensors use magnets rather than physical wipers, so they do not wear and drift the way potentiometer gimbals do over time — your center stays center for years. If you are flying an older pot-gimbal radio and the quad drifts in the sim even after calibration, the gimbals may be worn, and that drift is teaching your thumbs to compensate for a fault your real quad will not have. Recalibrate, and if it persists, the radio is the culprit.
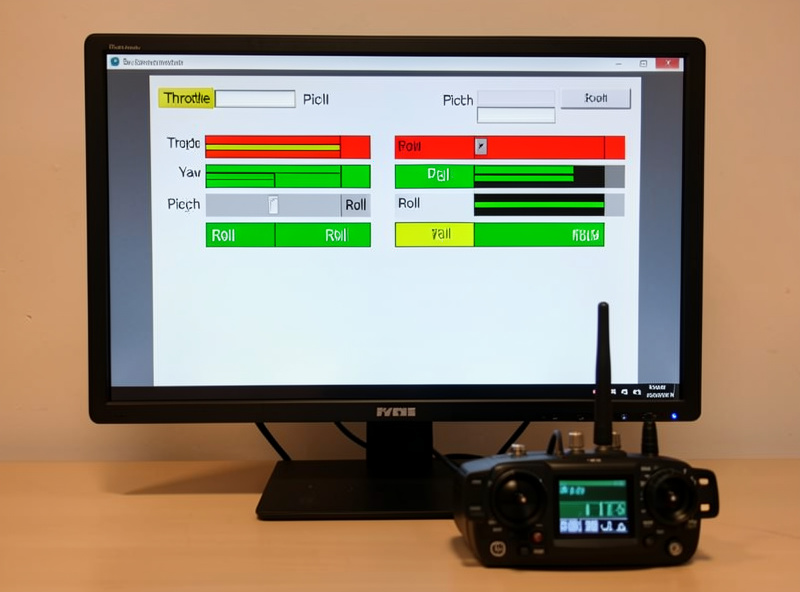
Channel mapping tells the sim which stick axis controls throttle, yaw, pitch, and roll, and it must match your real quad’s setup — for the vast majority of pilots that means Mode 2. In Mode 2 the left stick is throttle (up/down) and yaw (left/right), and the right stick is pitch (up/down) and roll (left/right). It is the global default for FPV, and unless you have a strong reason, you should learn on it.
In the sim’s controls screen, assign each axis until throttle, yaw, pitch, and roll all respond to the right stick movements, and check the directions are not reversed — pushing throttle up should climb, not drop. Match an AETR or TAER channel order consistent with how you will set up Betaflight later so nothing surprises you. Getting this identical between sim and quad is the whole point: the habits only transfer if the layout is the same.
Rates control how fast the quad rotates for a given stick deflection, and matching your sim rates to your future Betaflight rates is the step most beginners skip — then wonder why the real quad feels alien. If you train on twitchy sim rates and fly mellow rates on the quad, your timing is wrong from the first flight. Set them close and the muscle memory carries straight over.
You do not need exact numbers to start; you need the same ballpark. Most beginners do well on moderate rates — not the hair-trigger settings experienced freestylers run. Betaflight’s default Actual or Betaflight rates are a sensible starting point, and most sims let you pick a similar rate profile or adjust expo and max rate to match. The principle matters more than the precise figure: train on the feel you will actually fly. As you progress, you will tune rates on both together.
| Setting | Recommended for beginners | Why |
|---|---|---|
| USB mode | Joystick / game controller | So the sim detects the radio |
| Calibration | Run once per radio | Eliminates stick drift |
| Stick mode | Mode 2 | Global FPV default; transfers everywhere |
| Channel order | Match your future Betaflight (AETR/TAER) | Identical layout sim-to-quad |
| Rates | Moderate (near Betaflight defaults) | Muscle memory transfers to the real quad |
| Expo | Light to moderate | Smoother center-stick control while learning |
Treat these as starting points, not gospel — you will refine rates and expo as your flying matures. The non-negotiables are calibration and Mode 2; the rest you tune to taste once the basics are solid.
The two mistakes that quietly ruin sim practice are reversed channels and mismatched rates. Reversed pitch or roll teaches your brain a backwards reflex that is brutal to unlearn, and rates wildly off from your real quad mean your timing never transfers. Both are invisible until you fly a real quad and everything feels wrong — so catch them at setup.
The fix is a thirty-second check before every serious session: confirm throttle climbs when pushed up, confirm pitch-forward pitches forward, confirm roll-right rolls right, and confirm the rates still feel like what you will fly. Do that and your hours compound instead of teaching contradictions. Once the controller is dialed, the real work begins — the hours-before-flying guide tells you how long to grind, and the racing lines and freestyle tricks guides give you what to practice.
Plug the radio into the computer over USB and select the joystick or game-controller USB mode on the radio. On EdgeTX or OpenTX radios you pick this mode when you connect. The sim’s controls screen should then show all four stick axes moving.
Mode 2 for almost everyone. Left stick is throttle and yaw, right stick is pitch and roll. It is the global FPV default, so learning on it means your habits transfer to nearly every real quad and other pilots’ gear without relearning.
Usually the gimbals are not calibrated, so run the sim’s calibration routine first. If drift persists on an older radio, the potentiometer gimbals may be worn. Hall-sensor gimbals use magnets and do not drift, which is why they are worth having.
Yes. Rates control how fast the quad rotates per stick movement. If you train on twitchy sim rates and fly mellow quad rates, your timing is wrong from the first flight. Set them in the same ballpark, near Betaflight defaults, so muscle memory transfers.
No. Controller setup and all early sim practice happen on the screen, so goggles are optional. You only need the radio and a computer. Flying goggles-on later helps your eyes adjust to the FPV frame, but it is not required for setup.
Somewhere early in the hobby every newcomer hits the fork that splits the whole of…
Every few months a message lands in my inbox that reads almost word for word…
I’ve made most of the expensive FPV beginner mistakes myself, and I’ve watched newcomers make…
Leave a Reply